盔甲
这一章节中,我们将学习创建一套盔甲。
创建全身盔甲物品
与工具一样,盔甲也拥有一套材质系统。不过与高版本不同,在 1.7.10 中,盔甲有自己的材质系统。没错,ToolMaterial。
我们将会使用铁材质作为演示。当然,先来研究我们将要用到的父类:ItemArmor。
ItemArmor.class
public ItemArmor(ItemArmor.ArmorMaterial material, int renderIndex, int armorType)
{
    this.material = material;
    this.armorType = armorType;
    this.renderIndex = renderIndex;
    this.damageReduceAmount = material.getDamageReductionAmount(armorType);
    this.setMaxDamage(material.getDurability(armorType));
    this.maxStackSize = 1;
    this.setCreativeTab(CreativeTabs.tabCombat);
    BlockDispenser.dispenseBehaviorRegistry.putObject(this, dispenserBehavior);
}
而关于 renderIndex 与 armorType,我们得到了 Forge 提供的解释:
ItemArmor.class
/** Stores the armor type: 0 is helmet, 1 is plate, 2 is legs and 3 is boots */ // (1)
public final int armorType;

/**
 * Used on RenderPlayer to select the correspondent armor to be rendered on the player: 0 is cloth, 1 is chain, 2 is
 * iron, 3 is diamond and 4 is gold.
 */ // (2)
public final int renderIndex;
- 0 为头盔,1 为胸甲,2 为护腿,3 为靴子。
- 对应渲染玩家的护甲类型,0 为布料(皮革),1 为锁链,2 为铁,3 为钻石,4 为黄金。
但事实上,我们并不需要使用 renderIndex 或者设法为 renderIndex 注册一种新的类型。可能有点奇怪,但现在需要关注的应该是 Item,而不是 ItemArmor——因为我们将会使用一些 Forge 额外注入的方法,而这些方法被统一的注入到了 Item 中。现在我们进入 Item 之后往下拉,直到看到 Forge 注解的分割线。我们找到这个方法:
Item.class
/**
 * Called by RenderBiped and RenderPlayer to determine the armor texture that
 * should be use for the currently equiped item.
 * This will only be called on instances of ItemArmor.
 *
 * Returning null from this function will use the default value.
 *
 * @param stack ItemStack for the equpt armor
 * @param entity The entity wearing the armor
 * @param slot The slot the armor is in
 * @param type The subtype, can be null or "overlay"
 * @return Path of texture to bind, or null to use default
 */
public String getArmorTexture(ItemStack stack, Entity entity, int slot, String type)
{
    return null;
}
稍后,我们的盔甲纹理将要放在这里。在完成盔甲之前,请记住这个方法的存在。那么我们现在开始编写我们的盔甲物品类:
ItemArmorsExample
public ItemArmorsExample(int armorType) {
    super(ArmorMaterial.IRON, 0, armorType);
    String name = "example_armor_";
    switch(armorType) {
        case 0:
            name += "helmet";
            break;
        case 1:
            name += "chestplate";
            break;
        case 2:
            name += "leggings";
            break;
        case 3:
            name += "boots";
            break;
    }
    this.setUnlocalizedName(name);
    this.setTextureName(ModMain.ID + ":" + name);
    this.setCreativeTab(ModMain.TAB);
    InitItems.registerItem(name, this);
}

@Override
public String getArmorTexture(ItemStack stack, Entity entity, int slot, String type) {
    // TODO
    return null;
}
演示中采用 switch 提供一种便于注册对应盔甲的名称的方式,当然,如果读者愿意美观一些,也可以使用 ImmutableList 或 String Array 按照盔甲类型排序来供应名称。
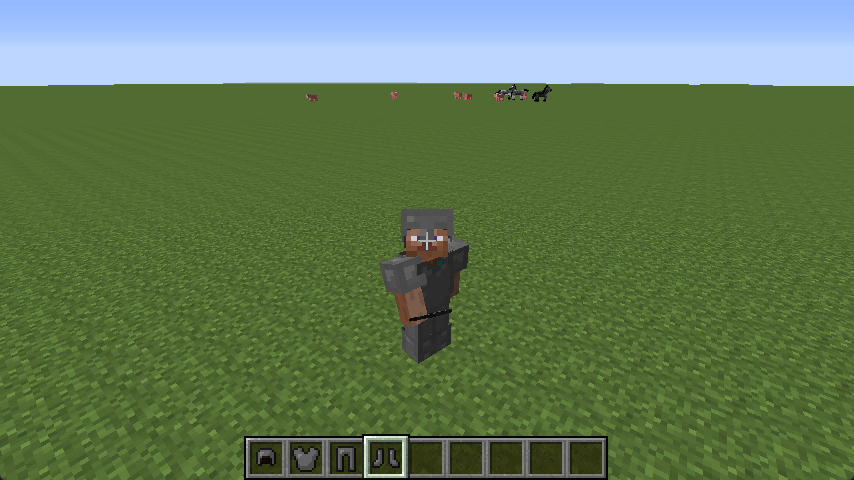
现在,只需要按顺序对 0-3 注册盔甲即可。当然,因为我们还没提供纹理,目前默认采用了布料纹理。
为盔甲附加一套纹理
现在,我们得去采取一套盔甲的纹理。请注意,盔甲纹理采用的是 BoxUV,因此读者应该严格按照现有模板重新制作。
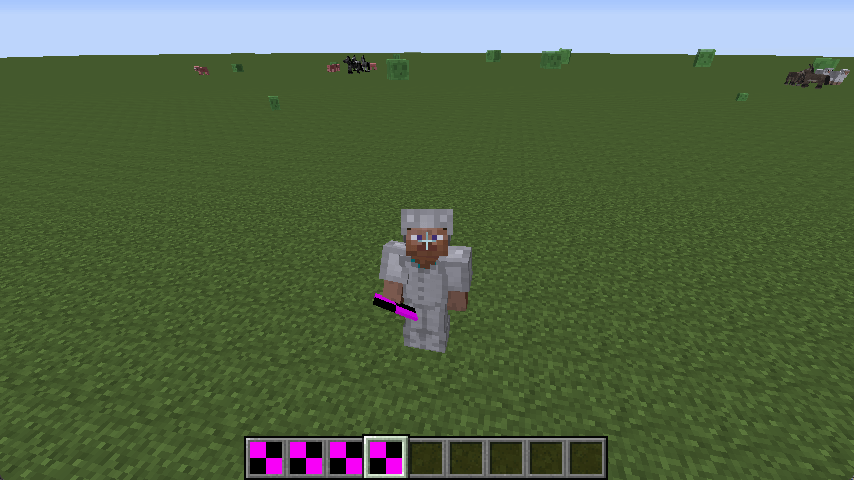
我们从原版文件夹中提取一套铁质盔甲改色,然后注册纹理:
ItemArmorsExample.java
@Override
public String getArmorTexture(ItemStack stack, Entity entity, int slot, String type) {
    return slot != 2
        ? ModMain.ID + ":textures/armors/example_armor_layer_1.png"
        : ModMain.ID + ":textures/armors/example_armor_layer_2.png";
}